Adding and Modifying Managed Account Users
Partner account Company Admins can create and edit managed account users, assign roles, and activate/deactivate users. The maximum number of users you can add per account is 100.
To create a new user
-
Log in as a Company Admin.
-
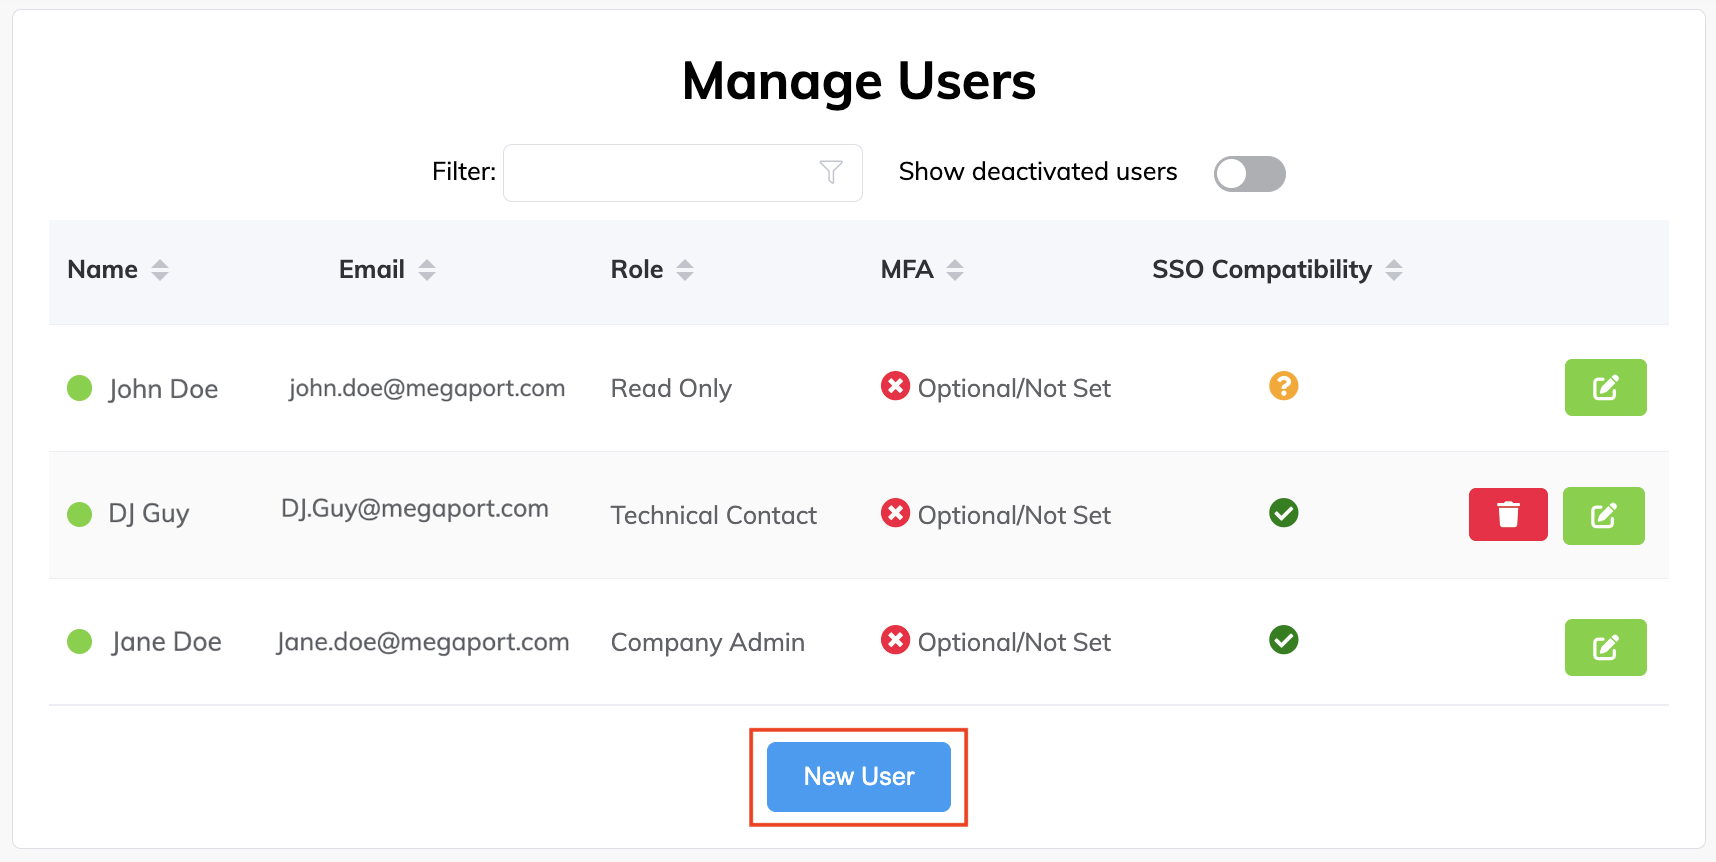
Choose User Menu > Admin Settings > Manage Users.

-
Click New User.
-
Complete all fields.
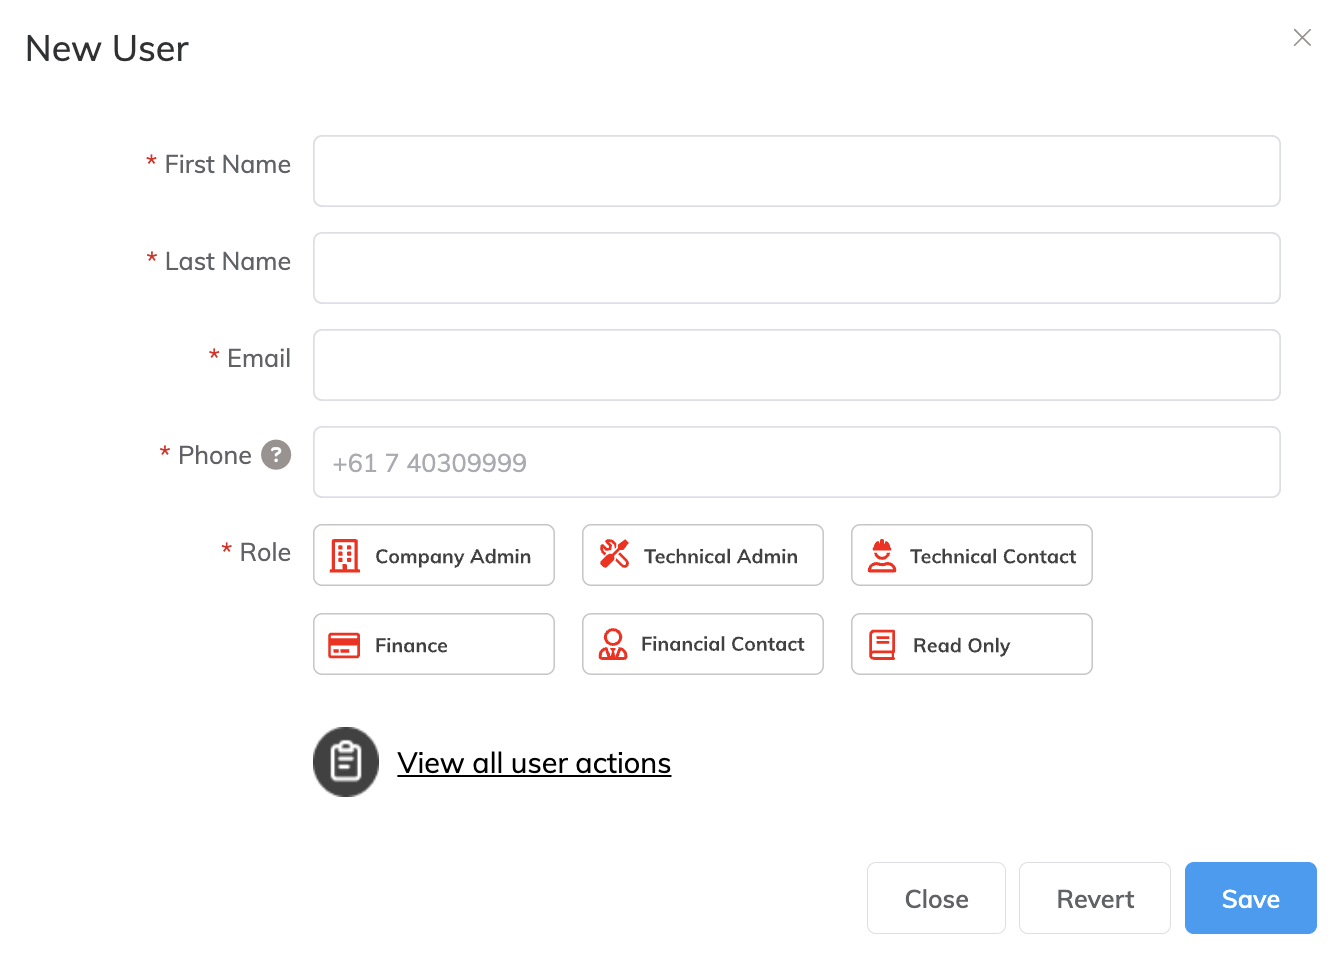
The user email address is required for registration.The role determines what actions the user can perform in the Portal through their access permissions. For more information about user roles, see Managing User Roles.
-
Click Save.
When you create a new user, the Portal sends the user an email with instructions for creating a password and logging in.
Note
If a managed account user does not receive the set password notification or it has expired, they can go to Portal login screen and select the Forgot Password option using the same email address to generate the reset password email.
For existing users, you can edit the user profile and also activate and deactivate access. This allows for both pre-provisioning, fast enablement, and suspension of user access to the Portal.
To modify an existing user
- From the Manage Users page, find the user to modify.
You can use the filter at the top of the page to focus the list. - Click
 (Edit) next to the user entry.
 - After making changes, click Save.